Offline hiking maps with QGIS 3 and Geopaparazzi
In this post, I will show how to export background maps (as a set of MBTiles files) from QGIS 3 and import them in Geopaparazzi on Android to serve as backup offline hiking maps when far from civilization and mobile coverage.
It can be useful in France, where interesting maps to have while hiking are the IGN ones like Carte Topographique IGN (Scan 25) or their standard map (Scan Express Standard). They are accessible freely through the Geoportail mobile app. Unfortunately, the app doesn’t support offline mode.
Step 1
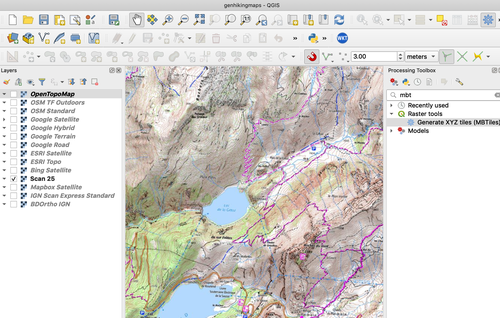
QGIS 3 regained the ability to export MBTiles in version 3.8: There used to be the QTiles plugin but it was never updated for QGIS 3. With QGIS 3.8 released a few weeks ago, it is now a native functionality. It is accessible in the Processing toolbox under the Raster tools menu: The tool is called Generate XYZ tiles (MBTiles).
Above, to plan for a hike, I have a QGIS project with many sources of data.
In order to have the 2 IGN maps (I use those as an example but any other service will do) accessible offline on Geopaparazzi:
- In QGIS, setup a connection to each of those 2 services. They happen to be accessible through WMTS so a simple XYZ connection can be used
- In the TOC, check only one of the layers that need to be exported, since Generate XYZ tiles (MBTiles) will actually export the map and not just a single layer
- Launch the Generate XYZ tiles (MBTiles) tool
- Choose the extent on the map or keep the extent of the map frame
- Set the levels (I only export levels 14 and 15 since they are sufficient for navigation in my case)
- Set the path of the file to export to
- Click the Run button
- A new MBTiles file for the layer is created
- Repeat from step 2 for each of the needed layers
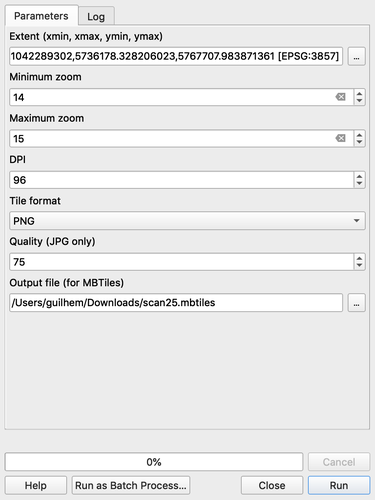
Above, the tool window.
I have a small Processing script that loops through a few of the layers in my hike planning project and does the export so I don’t have to re-enter all the same parameters multiple times:
| |
Step 2
Geopaparazzi is an open-source app for Android with many functionalities. For me, it has a few features I am interested in:
- It allows loading multiple offline background maps and easily switching which one is displayed
- It can also record a GPS trace that can then be exported
To load the background maps, each one being contained in a separate MBTiles file generated at the previous step:
- Connect the Android device to your computer. If on a Mac, install the Android File Transfer app. See here for troubleshooting
- Create a new folder for the MBTiles and copy the MBTiles files to that folder
- Open Geopaparazzi. Press the Basemap icon:
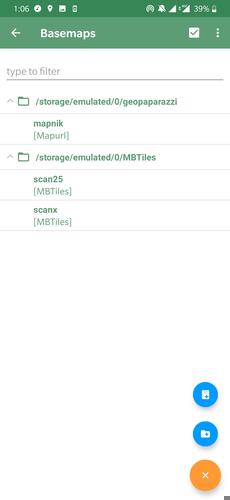
at the top of the main screen. On the Basemap screen, press the + icon at the bottom and then the Folder icon. Add the folder with all the MBTiles files. All the MBTiles should be listed in the list of basemaps. Select one.
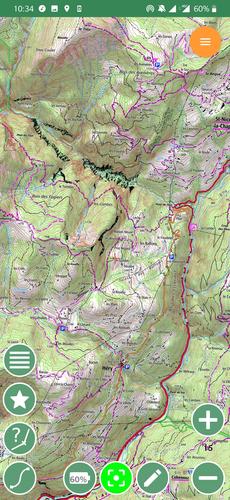
- Exit the Basemap screen and go to the Map screen. Using the menu at the top right, choose “Center on the base map”. The offline map should be displayed.
- To switch offline map, go back to the Basemap screen and select another basemap.
- To prepare for another hike, it is possible to generate new MBTiles with the same name. In this case, exit Geopaparazzi (using the Exit menu entry in the main screen) then simply follow instructions 1 and 2. You can also choose to create a new Geopaparazzi project from the menu in the main screen in order to erase previously recorded GPS logs.
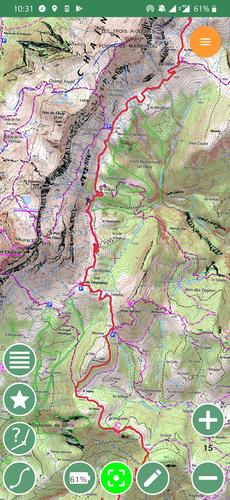
Useful tip: On high-dpi screens (which is the case for most phone screens these days), the labels on the map may appear too tiny (that is the case for the example IGN maps). In this case, a long press on the + or - zoom buttons can increase or decrease the resolution (note that distance measurements will be wrong when in this mode).
As to GPS logging, it is quite easy:
- Click on the GPS logging button in the main screen
- Click on the same button to stop
- Export to GPX using the export button. The file should be in the /geopaparazzi/export folder
